(53/199) 2025-03-13_00-16-25.jpg
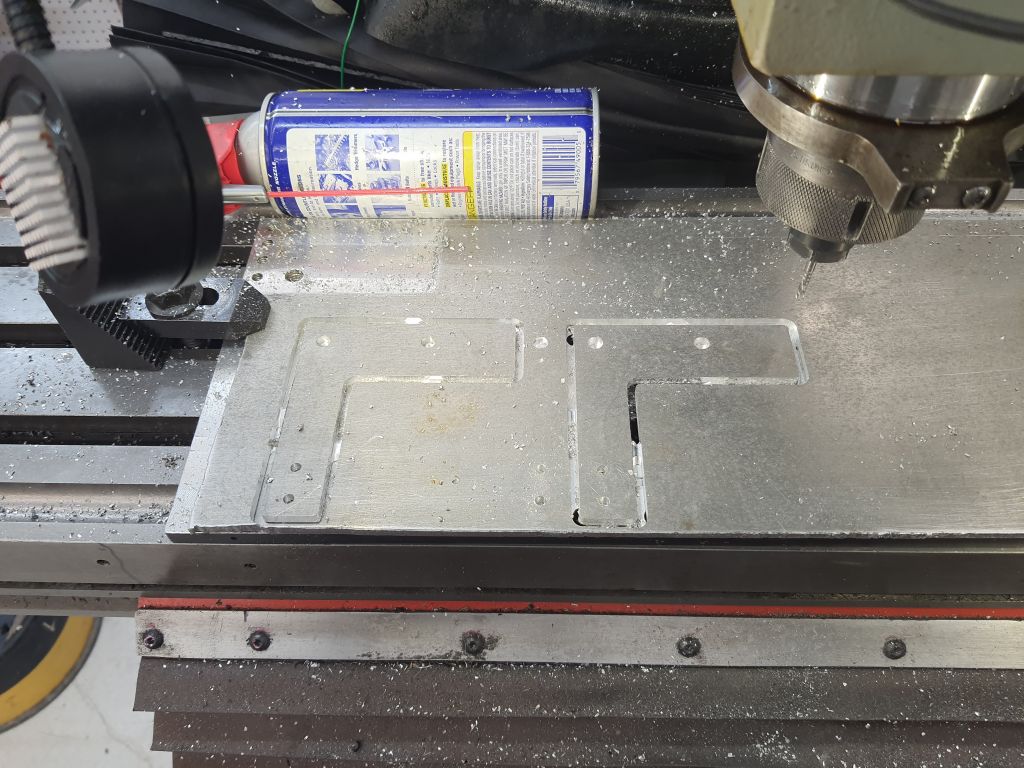
Making bracket for lube meters. One of the holes was in the wrong place!
52: Making bracket for lube meters
51: 2025-03-11_20-33-35.jpg
50: We can see the new 4mm push-to-connect fittings. (I changed them out for all metal stainless later.)
49: Looks like it was getting plenty of way lube.
48: Time for a nap underneath the milling table..Turns out it was a copper line!
47: Time for a nap underneath the milling table..Turns out it was a copper line! There was one plastic line that I had to make a 4mm-to-1/4" tube cuppler.
46: Time for a nap underneath the milling table..Turns out it was a copper line! There was one plastic line that I had to make a 4mm-to-1/4" tube cuppler.
45: They ground a place for the wrench - but not deep enough.
44: Had to remove the Y scale to change the fittings all over the Saddle.
43: Back side of table with old lube lines removed.
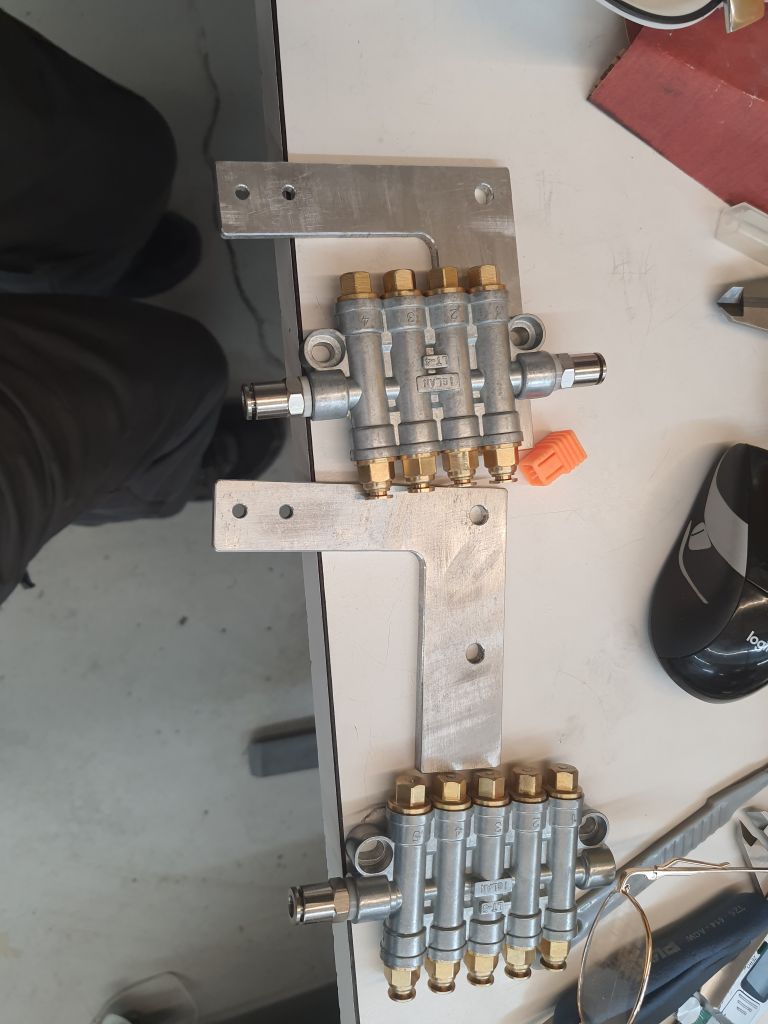
54: Assembling the lube meters stack
55: Assembling the lube meters stack
56: Assembling the lube meters stack
57: Assembling the lube meters stack.
58: Ground down a deditcated wrench for the pencil air grinder.
59: Ground down a deditcated wrench for the pencil air grinder.
60: Ground down a deditcated wrench for the pencil air grinder.
61: Kiln reassembled and the mortar fired - the grey turns to light pink.
62: Lube-pump Piston end.
63: lube-pump disassembled.