Disclaimer
This information HAS errors and is made available WITHOUT ANY WARRANTY OF ANY KIND and without even the implied warranty of MERCHANTABILITY or FITNESS FOR A PARTICULAR PURPOSE. It is not permissible to be read by anyone who has ever met a lawyer or attorney. Use is confined to Engineers with more than 370 course hours of engineering.
If you see an error contact:
+1(785) 841 3089
inform@xtronics.com
Hitachi C10FSH Secrets
The Hitachi C10FSH manual leaves more than it should to our imagination.
Fence adjustment
- To adjust square of fence to blade - loosen left side and set with a square to the blade.
- Then use straight edge and do the fence on the right.
LASER repair and adjustment
- First if your LASER quits working unplug the saw - disassemble
the handle and you will find a 6Vdc power-supply. Verify this is working
before you mess with the LASER. The power supply is more likely to go
out than the LASER.
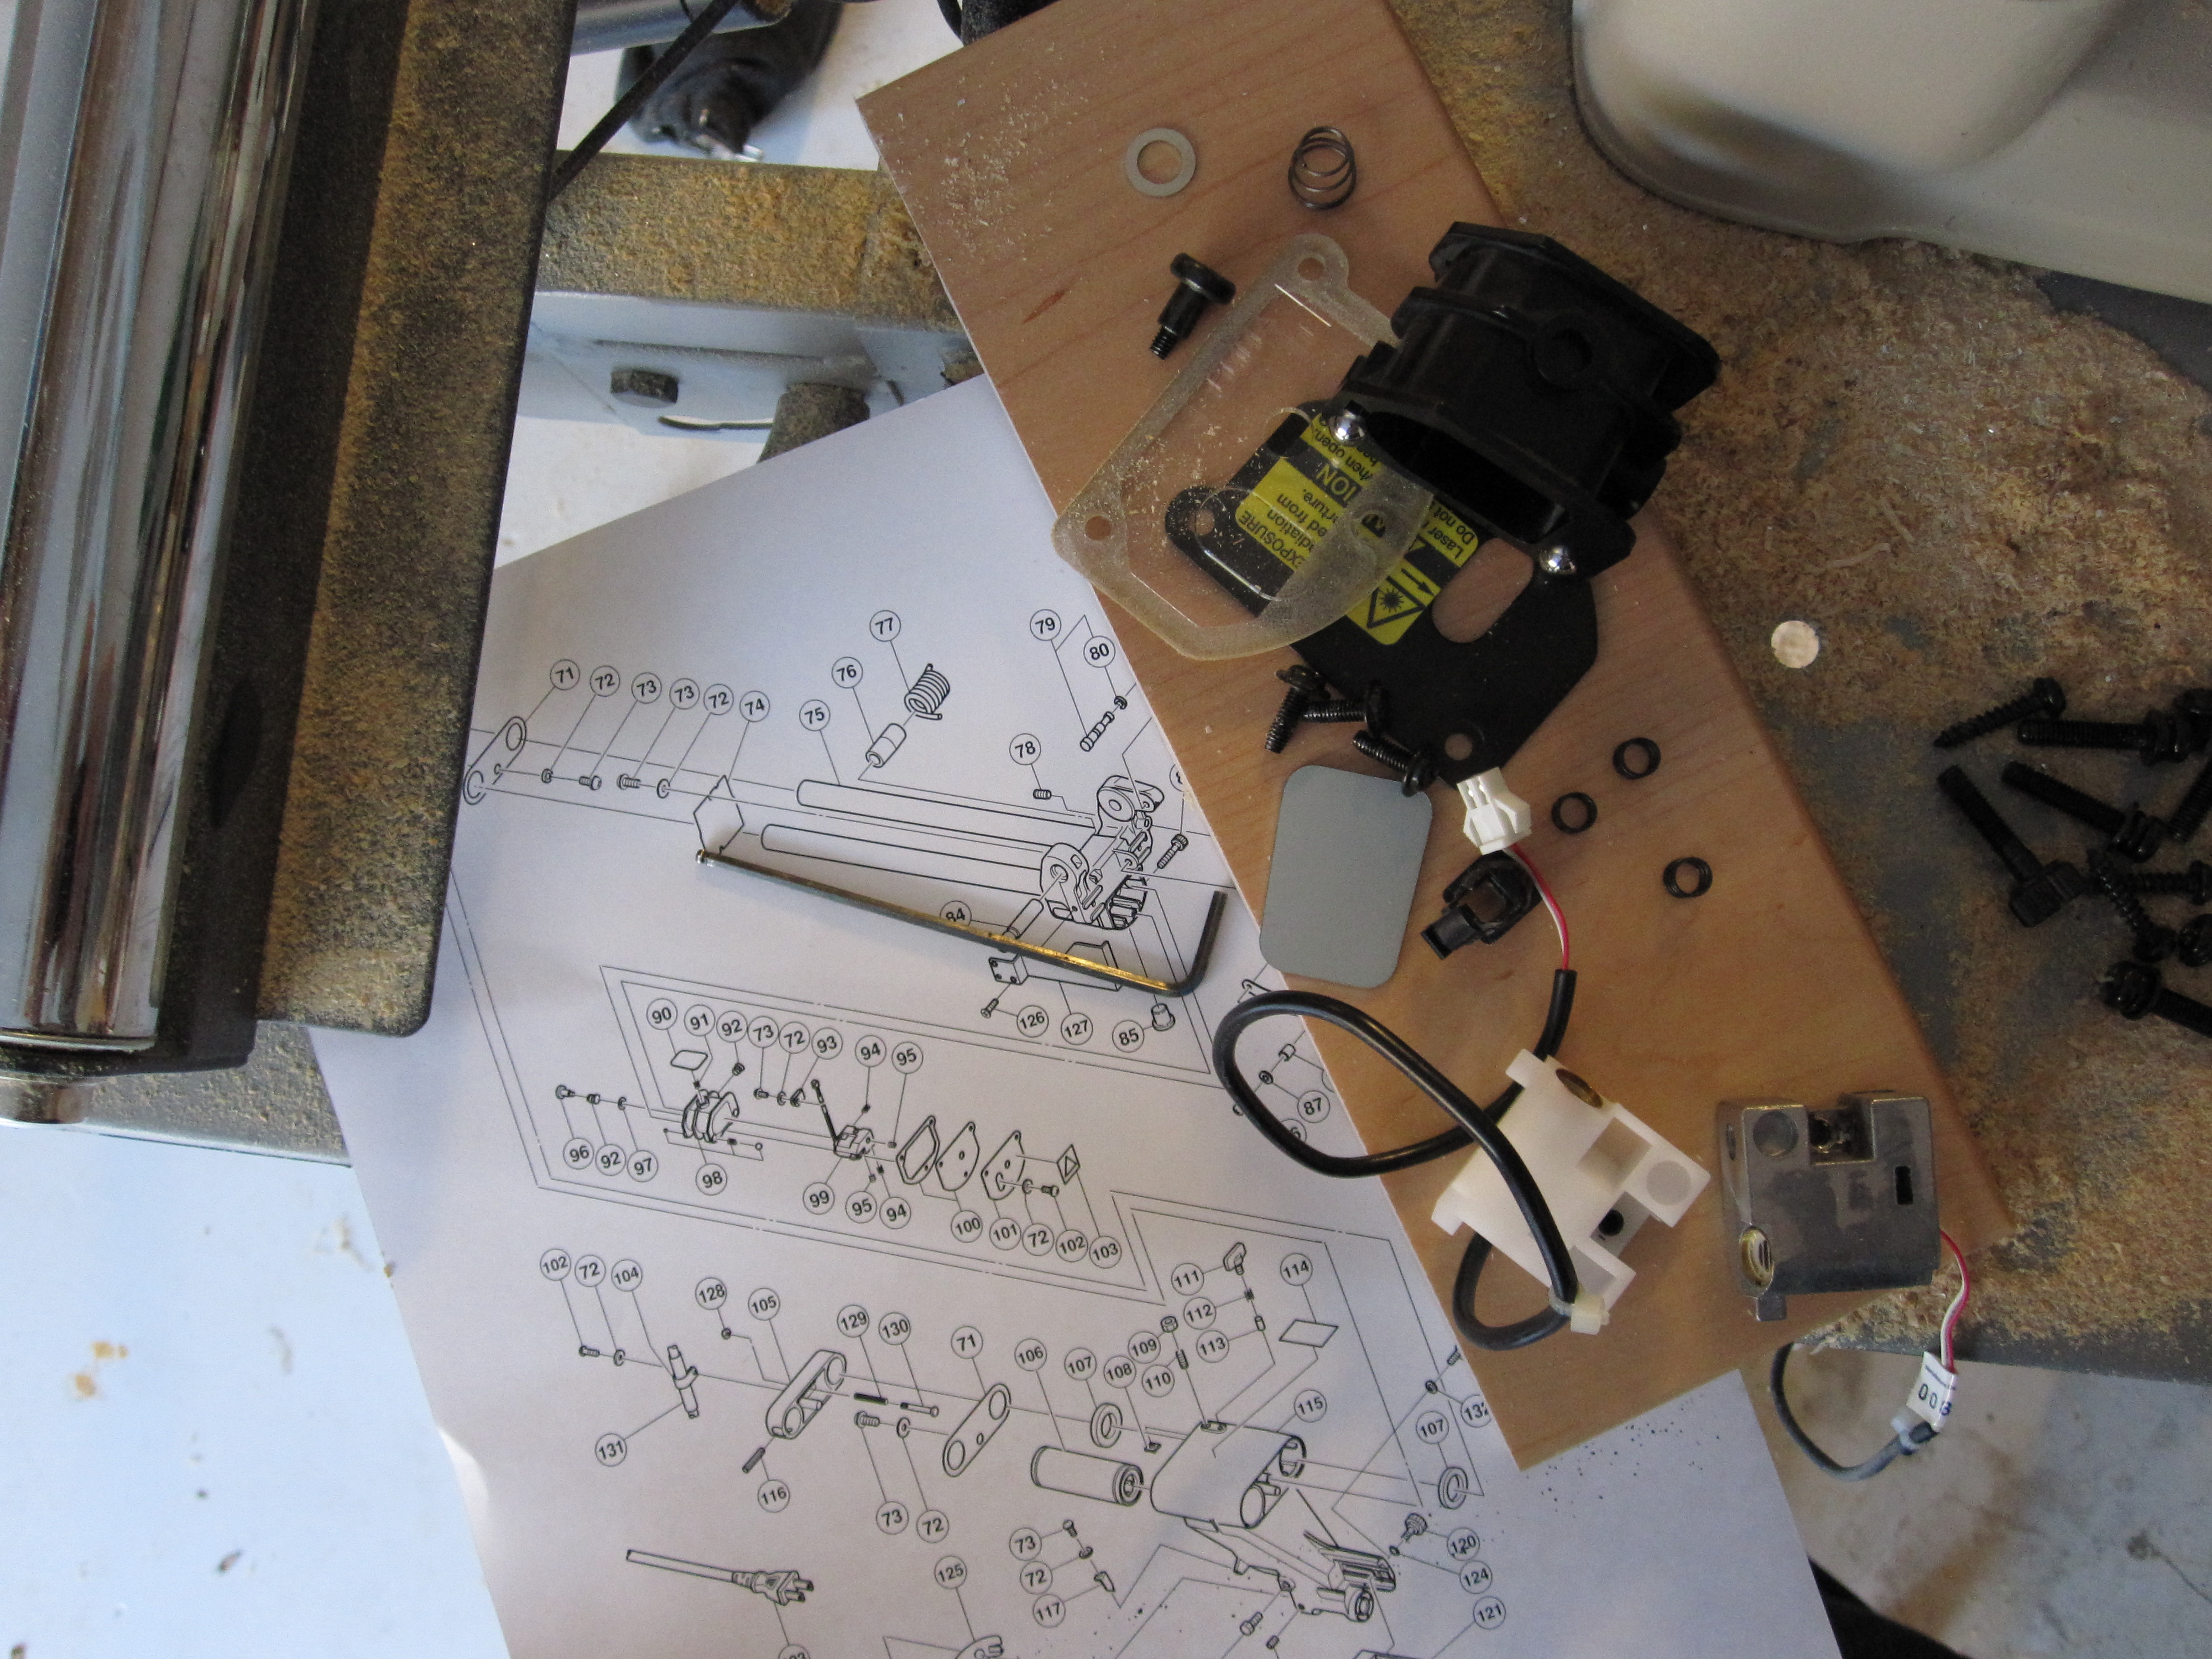
If you have to replace the laser - beware there are lots of springs,
set screws and more springs - you will need the parts diagram and need
to work carefully. Study the assembly diagram for a long time before
disassembling
-

Click to Enlarge
There are 4 spring loaded screws:
- The one on the back just keeps the whole thing tensioned.
- The one on the left is the right left adjustment.
- removing the plug on the bottom gives you access to the set
screw to tilt the vertical plane of the LASER beam - use the edge of a
perfectly square block and adjust for maximum size of what the LASER
illuminates.
- There is a secret hole under the LASER warning label that lets
you adjust the plane to be parallel to the saw blade. Put some tape
over this when finished to keep saw dust out of the LASER assembly.
